Showing posts with label distressoxide inks. Show all posts

Friday, September 23, 2022

Mama Elephant Stamp Highlights Joyful Greeting


 Hello crafty friends! I’m so happy to be participating with the Mama Elephant team once again. Todays “Stamp Highlight” is the wonderful Holiday sentiment set called Joyful Greetings. This tasteful and pretty set is full of Christmas messages that would be perfect for the front of a card or even the inside message. Each sentiment has a coordinating die so you can place the sentiment over a busy background like I have with my “Jolly” card. 
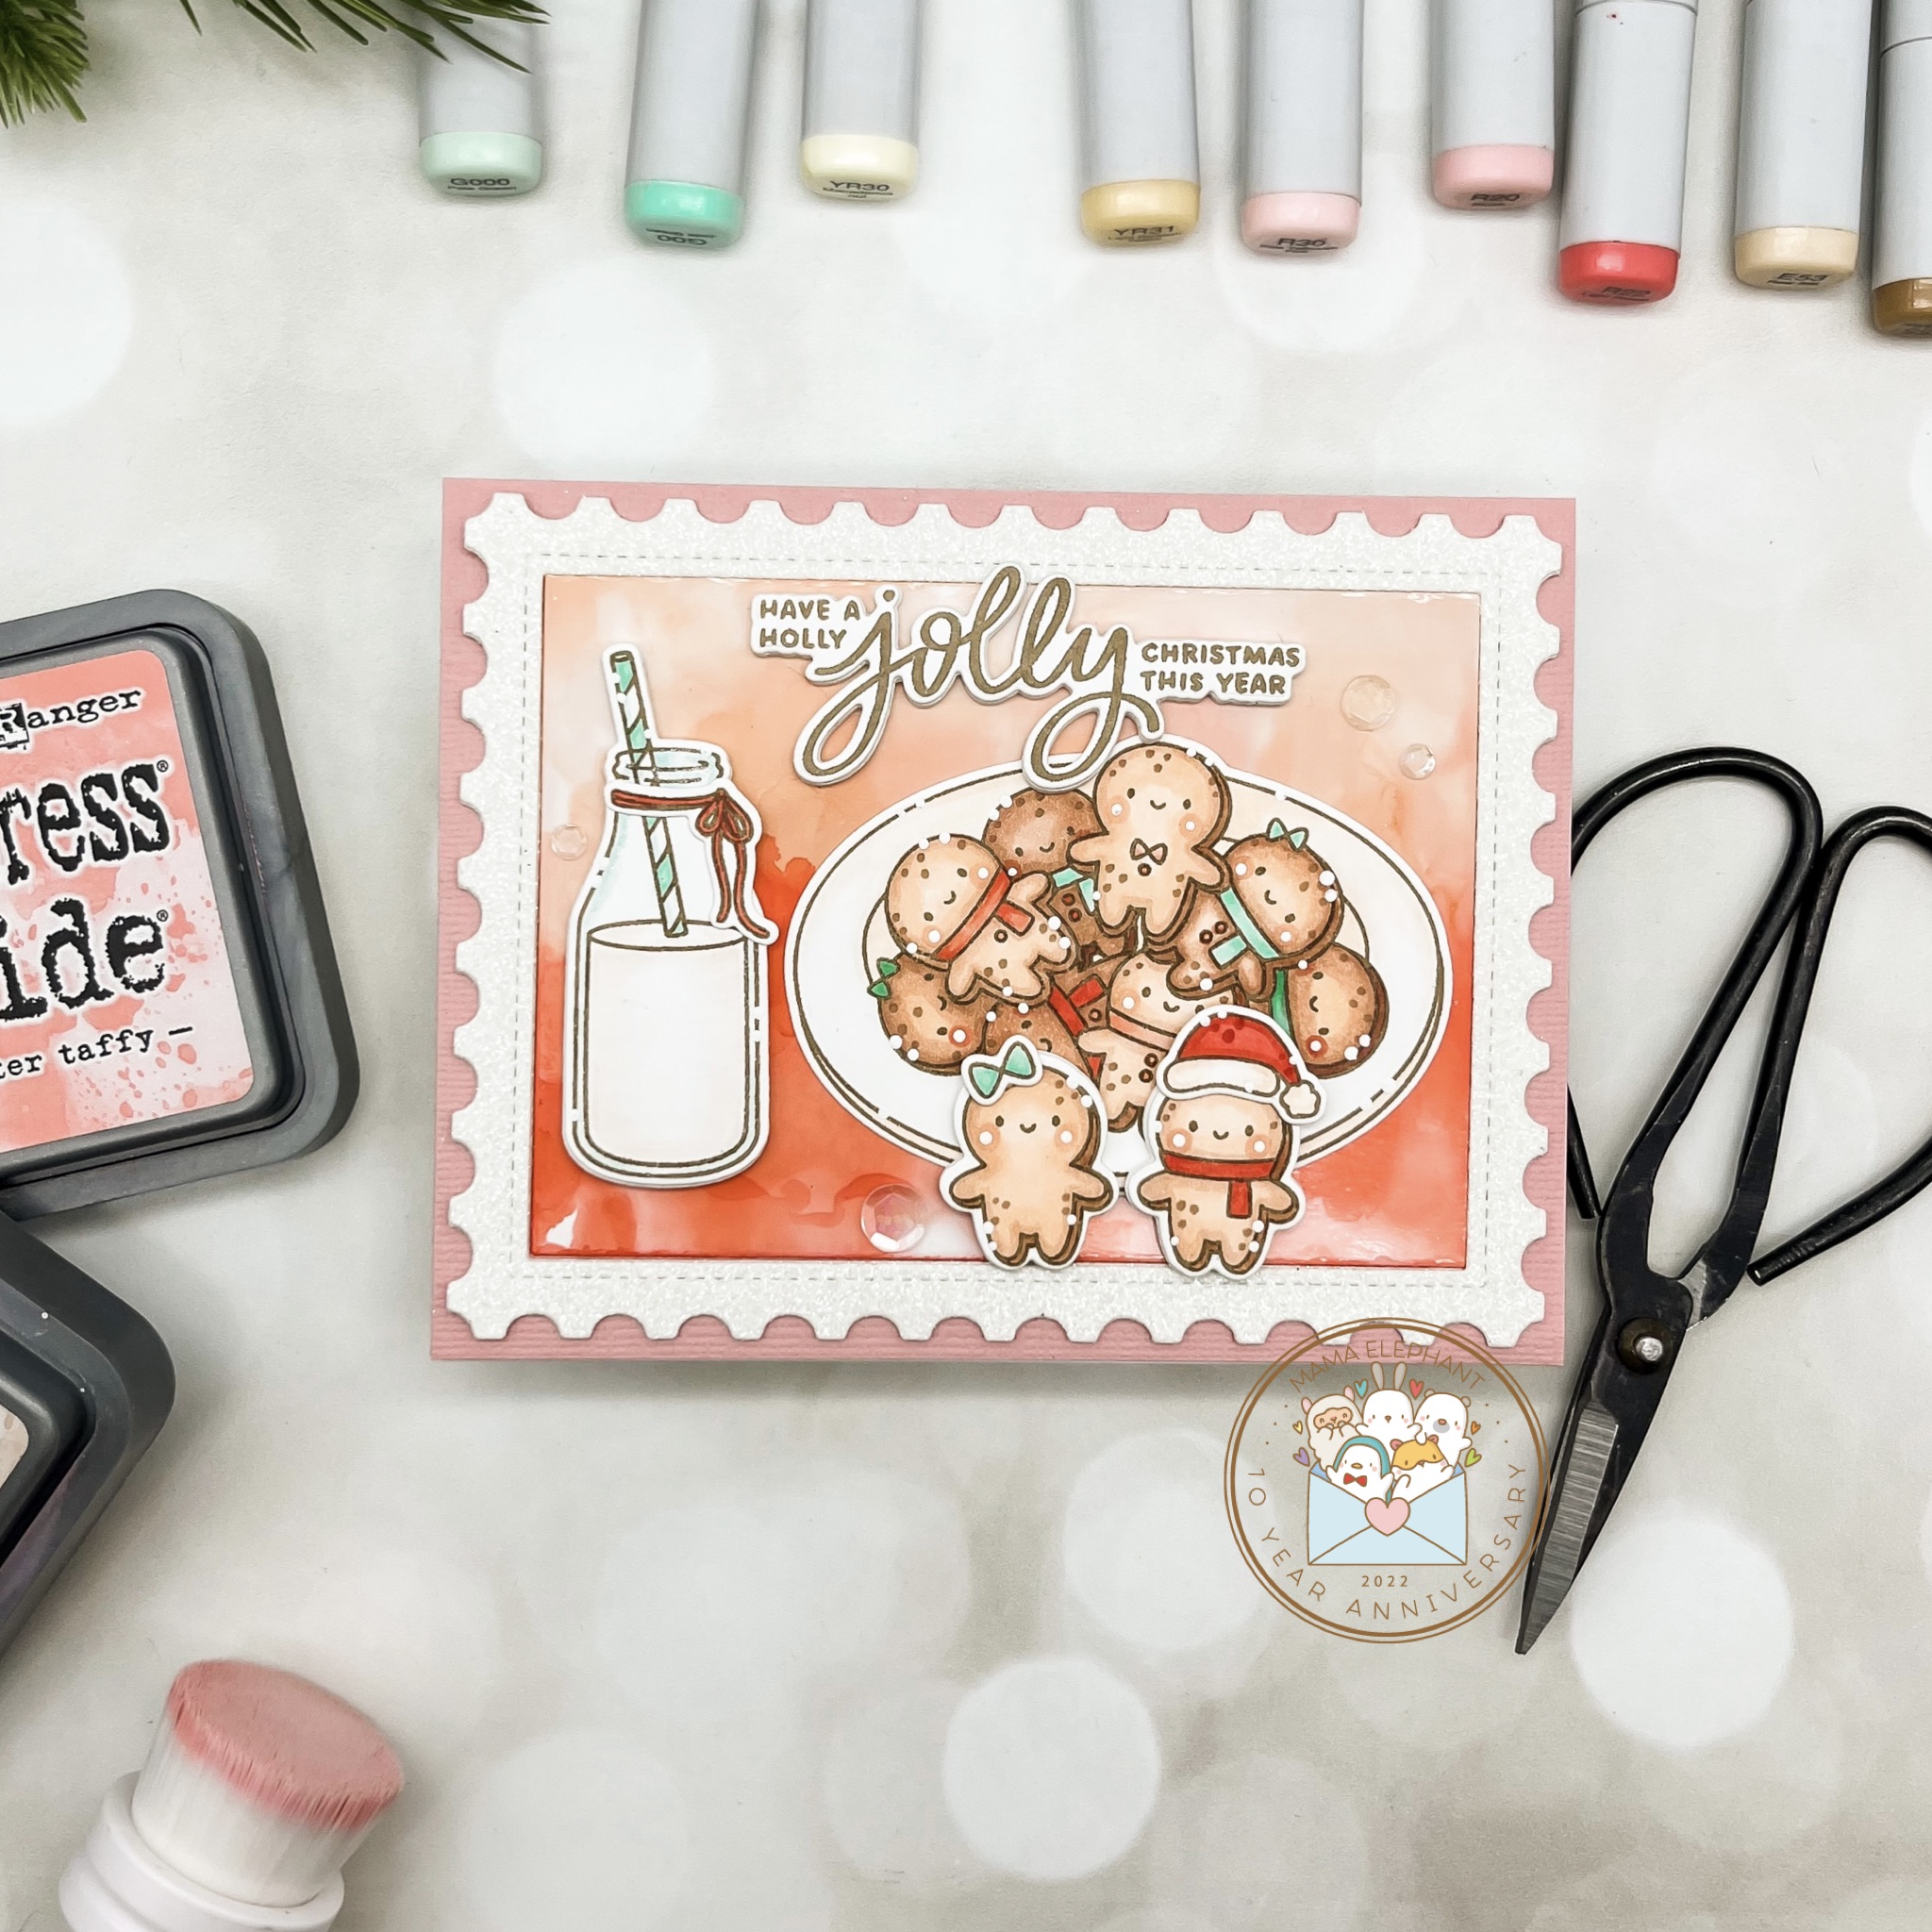

I wanted a soft yet bold background for this gingerbread man filled card, so I used alcohol inks on white photo paper for a textured looking background. I created a postcard frame using the Postage Frame Creative Cuts and fit my inky background inside. I stamped and cut images from the Gingerbread Cookies Stamp set using brown ink soft pastel Christmas colors. 


I finished this card by stamping my “Joyful Greeting” with Taupe ink and centering in the top of my card. I really love the results and think that these sentiments will coordinate well with any holiday themed stamp set. 

Please make sure to head over to the Mama Elephant Blog to see the inspiration from the entire DT for all of the amazing new products. You won’t want to miss out on the sale and free item promotions! 


Saturday, January 15, 2022

Mama Elephant January Stampede


Welcome to the Mama Elephant Design Team blog hop!

Our newest release is now live and available for purchase in the store!

www.mamaelephant.com

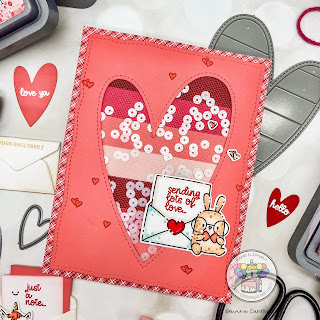
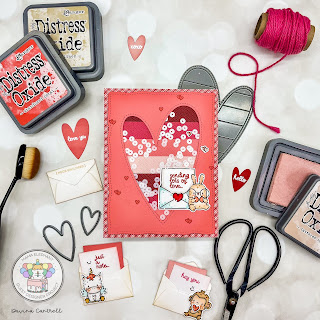
I’m so I’m very excited to be participating as a guest designer for the Mama Elephant January release. I have created many fun projects to share with you all. Today, as we introduce the January Stampede, I’m sharing a die cut mesh shaker card showing off the new die set - Mod Hearts CC. There are so many wonderful large elements included in this die set, that can be used separately, or all together. 


I began by using the large A2 sized frame die to cut a piece of red plaid paper for my card base. Then, I selected several pieces of colored cardstock that matched my plaid paper. I used the wonky stitched frame to cut a watermelon hued panel that I inked around the edges, before running the panel a second time with the large striped heart die, to remove the center and leave a nice stitched heart outline. I cut the heart from the 3 other pieces of colored card and arranged the strips in an alternating pattern.


I adhered some white mesh to the backside of the heart panel with double sided tape making sure it doesn’t extend beyond the panel. Then, I centered my striped heart onto the plaid paper, poured a pile of dainty flat white sequins, then carefully adhered the heart panel over top. These flat mesh shakers do have some movement, but not anything close to the movement of traditional foam tape shakers. The best results are with small flat sequins. 

Once the base was complete I stamped one of the adorable new images from the “To My Dearest” stamp set, onto bright white Neenah cardstock, then colored with copic markers before using the coordinating creative cuts to die cut. I added small white dot highlights and glued it onto my card base. I surrounded the image with small hearts from the same set, stamped with red ink, all over the heart panel. 


While I had all of the supplies on my desk I also made a couple of small envelopes from white cardstock that I inked and added some Little Agenda images to. Then, I made some teeny notes from paper scraps stamped with sentiments from “To My Dearest”, and tucked them into the envelopes. 

Thank you for stopping by today, I will have another great projects to share with you using the new release on Monday January 17th. Below you will find links to all the products that I have used available now in the Mama Elephant Shop.

Mod Hearts Creative Cuts

To My Dearest 

To My Dearest Creative Cuts

Check out the rest of the hop for amazing inspiration from our Design Team!


To celebrate the new release, Mama Elephant is picking 1 winner to win a prize pack! 


» 1. Leave a comment on the collective Design Team's Instagram Stampede post
» 2. Leave a comment on our Facebook Stampede post
» 3. Leave a comment on any of the Introduction videos on YouTube
 
Each action qualifies for one entry, max 3 entries per stampeder please and good luck!
Open to US entries only.
 
Check out the rest of the hop for amazing inspiration from our Design Team!


Thank you for stopping by! Have a great day from all of us!
 

Sunday, February 28, 2021

Heffy Doodle and Sunny Studio Stamps Collaboration Blog Hop


Welcome to the Heffy Doodle and Sunny Studio Stamps Collaboration Blog Hop!

Design Team members from both companies are sharing inspiration using products from both companies! 

I’m so honored to be participating in this fun collaboration. Both wonderful companies provide such amazing products and with such cute themes. It was so simple to bring them both together since my creativity was flowing with excitement, and I love the the way they look together. 

I knew right away when I saw the cute mini stamp set from Sunny Studios called Just Bee-Cause that I wanted to combine the images with Heffy Doodles signature bears. I stamped out some of the cute bears from Beary Big Heart and colored everything with copic markers before die cutting with the coordinating dies.  I was so happy to have the perfect Country Scenes Stamp   to easily create the wooded background for my card. I added a die cut grassy layer on the bottom using the Grassy Lass Borders and popped it up on some foam tape. 

I inkblended a cloudy sky panel using Cloudy Skies Stencil and distress oxide inks, then splattered with water, white and gold ink.  I created a custom sentiment for the sky using the Rascal Alphabet Stamps And Dies and Scattered Straw Distress Oxide ink. I surrounded my Bee Kind sentiment with cute Sunny Studios he’s, and a few gold stars then mounted my image panel onto a contrasting black layer and some patterned paper. 

I love the way these companies products blend together, and hopefully as you hop along to all of the inspiration from both DTs, you will be motivated to do a little mixing and collaborating your self. 


BLOG HOP DETAILS:

To be entered to win the giveaway, all you need to do is comment at each stop along the Blog Hop!
Sunny Studio Stamps will be giving away $35 and Heffy Doodle will be giving away £25 to their respective stores!  Be sure to comment before 11:59 PM on March 3rd to be entered to win!

Each company will post their random winner on March 4th at 10AM EST!  Make sure to check the Heffy Doodle Blog and Sunny Studio Stamps Blog to see if you’re a winner!

(Optional:  You should have come from [link to person before you in the hop] and the next stop is [link to next person]. )


Friday, March 6, 2020

Countdown to Confetti Day #2


It’s day 2 of the Countdown to Confetti, and I have a new project to share with you. I feel like I checked so many boxes with this bold Easter Card, and it wasn’t intentional.

One of the great new stand alone confetti cuts this release is this incredible Diagonal Scallop Cover Plate. It’s perfect for creating backgrounds. I had planned to use the colors from the brand new March MoodBoard for this project, so when it was time to pick a color scheme, there was very little question.

 I selected a deep blue cardstock to cut my panel from, and inked around the edges with chipped sapphire distress oxide ink. It’s not overly noticeable, but I wanted the center to be slightly lighter in color. Next, I inked up some white Bristol Smooth Cardstock in shades of pink and yellow to create a soft ombré background to peek through the scallops. I splattered the panel with clean water, and white and gold ink.

I stamped the beautiful tulip flowers and vases from the new set Tulips, and colored them all in in shades of soft yellow, pinks, and blue with my copic markers. After diecutting, I added white dot highlights to my images. I mounted some of the images onto die cut fun foam to make thick, 3D like stickers. I use this technique often, I love the dimension it gives my projects.

I played with the placement of the images, and had originally planned on using one of the sentiments on a banner. But after seeing the the available space on my card front would accommodate another stand alone die, I couldn’t resist! I used the Happy Easter confetti cuts to cut out this fantastic single piece shape. I cut it from gold cardstock and from some more fun foam to balance out the card.

The scripty font is wonderful, and as I’m typing this up, I realized it’s the same font as yesterday’s Perfect Timing set. I adhered everything to my card front using simple liquid glue. Once it was all in place, I used some more of my favorite luxury matte gold sequins.

Thank you so much for dropping in. I hope you stop by again tomorrow and don’t forget the big blog hop on the 8th.

There will be a $15 Reverse Confetti gift certificate  for one lucky blog commenter, who hops along and comments on each Designers Countdown to Confetti Sneak Peeks. Comments will be closed on the 7th at noon with a winner announced at 5pm CST. There’s a second prize for those who comment on the Reverse Confetti FB so head on over Reverse Confetti Facebook 


Thank you,
Davina