Friday, April 10, 2020
Trinity Stamps Spring 2020 release
Hello my crafty peeps! I’m very excited to be here today sharing some projects that I’ve made using the new Trinity Stamps Spring 2020 release. It’s available now and you will definitely want to check it out. This release is huge and there are many contributors, and lots of illustration variety. I myself drew the quartet of unbelievable creatures and the fun space otters! There are so many awesome stencils, stand alone dies (more slimline dies) and a great Alphabet too!
We are having a fun and easy to follow along Instagram Hop today, April 10th, and again on May 15th. So multiple opportunities to win and best of all, and easy platform to play along on.
The first card I made with my new goodies is this Yeti filled Birthday card. The 4x3 set is called Unbelievable and has a great silly Yeti/Big Foot, and many accessory images like a trees, a balloon, and ice cream etc. He is so cute and very easy to color, I loved creating the scene using the mountains from the new Wonky Stitched Scene Builder die set. I also used some small images from the other accompanying sets.
I layered a few inkblended and die cut panels, then layered those onto some patterned paper from my stash. Once that was all put together I mounted it with foam tape upon a piece of mustard yellow cardstock that I stenciled with a new skinny line stencil. These new stencils are large enough to create a background for slimline cards or regular sized card, making them very versatile, and eliminating the tricky task or trying to “line up” your stencils and carry the pattern over.
On my second card, I created a full in slimline card using the new Wonky Stitched slimline series which includes many scene building dies. Like a great mountain range with snow caps, some stiched puffy clouds, 3 great tree shapes, and star bursts. I used the new stamp set, A Rare Friend, to create my scene along with the trees from the Unbelievable set. My little dragon has his treasure scattered about the grassy field, and I couldn’t resist popping some google eyes on him.
The beautiful scripty “Hello” is from another new dies set. The Slimline envelope builder makes great giant envelopes to fit a slimline card, and it comes with some layered scripty words. I used the same glittery white cardstock that I used for the snow caps to bring it all together.
Finally I created a slimline envelope using the new dies and some striped 12x12patterned paper from my stash. You can choose to close them with glue or tape, or the included little circle tabs and a string. I searched my crazy craft room looking for my old supply of eyelet grommets. Thinking it would be great to use them, but I could not find where I had stored them so many years ago. Hopefully I come across them one day.
Head on over to Instagram and follow along the hop to see all the amazing inspiration and the entire release. You won’t be disappointed, it’s really wonderful!
Thank you for dropping by,
Davina
Wednesday, April 8, 2020
#stayhome with Reverse Confetti
Hello friends. Today I’m hopping along with Reverse Confetti and I have a fun card to share with you. As we are all stuck inside social distancing and eating too much, I thought I’d make a playful card referencing our current situation.
I created a fun Pool day scene using the Hippo Pool Party stamp and die set. I made a mini scene on a giant tag, it’s an older die set that makes Gift Card holders, but it’s nice large size makes it perfect to fill a card. I also used the Pool Confetti Cuts, this stand alone die is perfectly sized for the critters to float and swim in.
I stamped and colored all of my images using copic markers and added lots of glittery Wink of Stella to the unicorn floatie. Before adhering my images I printed up the #STAYHOME on my die cut tag using my home printer. Then I framed it with a heat embossed sentiment on pink paper.
I mounted my giant tag on teal polka dot paper, from the Winter Solstice paper pad, using some foam tape. And finished it off with some iridescent jewels for a little glam. I really love pulling multiple products together, and I enjoy finding older items in my stash and using them combined with the new. I hope you find something you love and haven’t used in a while, and dust it off and create something fun.
Davina
Now let’s hop along with the rest of the Design Team to see what inspiring projects they are sharing.
Thursday, April 2, 2020
Penguin Palace Spring Release day 4
Hello everyone, today is the wrap up dat of Penguin Palace’s reveal and Inspiration Chapter. I have two cards to share with you this morning featuring the 2 brand new stand alone dies.
The first card features the new priced rectangle frames called Dots meet Dashes. There are two sets of these layers dies, a large and a small. Used together you can create layers in 1/4 inch increments, alone you will achieve 1/2 inch layers like the card I’m sharing today. I cut layers from some bold patterned paper to create this under water scene, which features images from the new stamp set The More We Get Together.
I created some die cut “bubbles” to make mini scenes, and mounted those rising from the bottom. I added a mini layer with textured cardstock below my first layer for a little visual dimension and I inked it a bright citrus green.
The second card I created uses the new background die called Classic Diamonds . This die cuts a fantastic diamond patterned and an A2 sized panel all at the same time. It very much reminds me of the beautiful and colorful Mexican Papel Picado banners than many of you would be familiar with, if you think of the gorgeous colorful pierced paper banners strung around fiesta themes. It is a style of Mexican Folk Art and I tried to recreate the feeling with an inkblending technique.
I created a faux rainbow with a textured white background peeking through. And added the adorable children from the Sweetest Truck set. I finished it off with a sentiment from My BFF and a few sequins.
Head on over to Penguin Palace for more DT Inspiration and to see details on the big giveaway!
Davina
The first card features the new priced rectangle frames called Dots meet Dashes. There are two sets of these layers dies, a large and a small. Used together you can create layers in 1/4 inch increments, alone you will achieve 1/2 inch layers like the card I’m sharing today. I cut layers from some bold patterned paper to create this under water scene, which features images from the new stamp set The More We Get Together.
I created some die cut “bubbles” to make mini scenes, and mounted those rising from the bottom. I added a mini layer with textured cardstock below my first layer for a little visual dimension and I inked it a bright citrus green.
The second card I created uses the new background die called Classic Diamonds . This die cuts a fantastic diamond patterned and an A2 sized panel all at the same time. It very much reminds me of the beautiful and colorful Mexican Papel Picado banners than many of you would be familiar with, if you think of the gorgeous colorful pierced paper banners strung around fiesta themes. It is a style of Mexican Folk Art and I tried to recreate the feeling with an inkblending technique.
I created a faux rainbow with a textured white background peeking through. And added the adorable children from the Sweetest Truck set. I finished it off with a sentiment from My BFF and a few sequins.
Head on over to Penguin Palace for more DT Inspiration and to see details on the big giveaway!
Davina
Wednesday, April 1, 2020
Penguin Palace Spring Release day 3
Hello, today I’m sharing another fun project using the new Penguin Palace Spring Release. Today we are featuring the incredibly cute images the set called The Sweetest Truck. And it really is the sweetest!
The large and perfect ice cream truck is my favorite set from this release and it is full of so many cute treats and a perfectly sized little boy and girls who can enjoy all the delights. I made a simple scene showing them enjoying some treats and the cute little teddy bear ice cream men hanging out of the window. With music notes dancing out from the streaker.
I also used the new Dots meet Dashes rectangle frames and really love the fantastic detail they give. I created multiple layers with matching colorful layers and popped my characters up on fun foam for dimension. It really is my favorite go to card design when I want to share a lot of images of images on a card front.
Please head over to the Penguin Palace Stamps blog to see all of the Design Team inspiration,
Davina
The large and perfect ice cream truck is my favorite set from this release and it is full of so many cute treats and a perfectly sized little boy and girls who can enjoy all the delights. I made a simple scene showing them enjoying some treats and the cute little teddy bear ice cream men hanging out of the window. With music notes dancing out from the streaker.
I also used the new Dots meet Dashes rectangle frames and really love the fantastic detail they give. I created multiple layers with matching colorful layers and popped my characters up on fun foam for dimension. It really is my favorite go to card design when I want to share a lot of images of images on a card front.
Please head over to the Penguin Palace Stamps blog to see all of the Design Team inspiration,
Davina
Tuesday, March 31, 2020
Penguin Palace New Release day 2
Hello friends! I’m back with a few more projects to share using the newly revealed Spring Release from Penguin Palace Stamps. Today we are sharing inspiration from 2 of the 5 stamp sets.
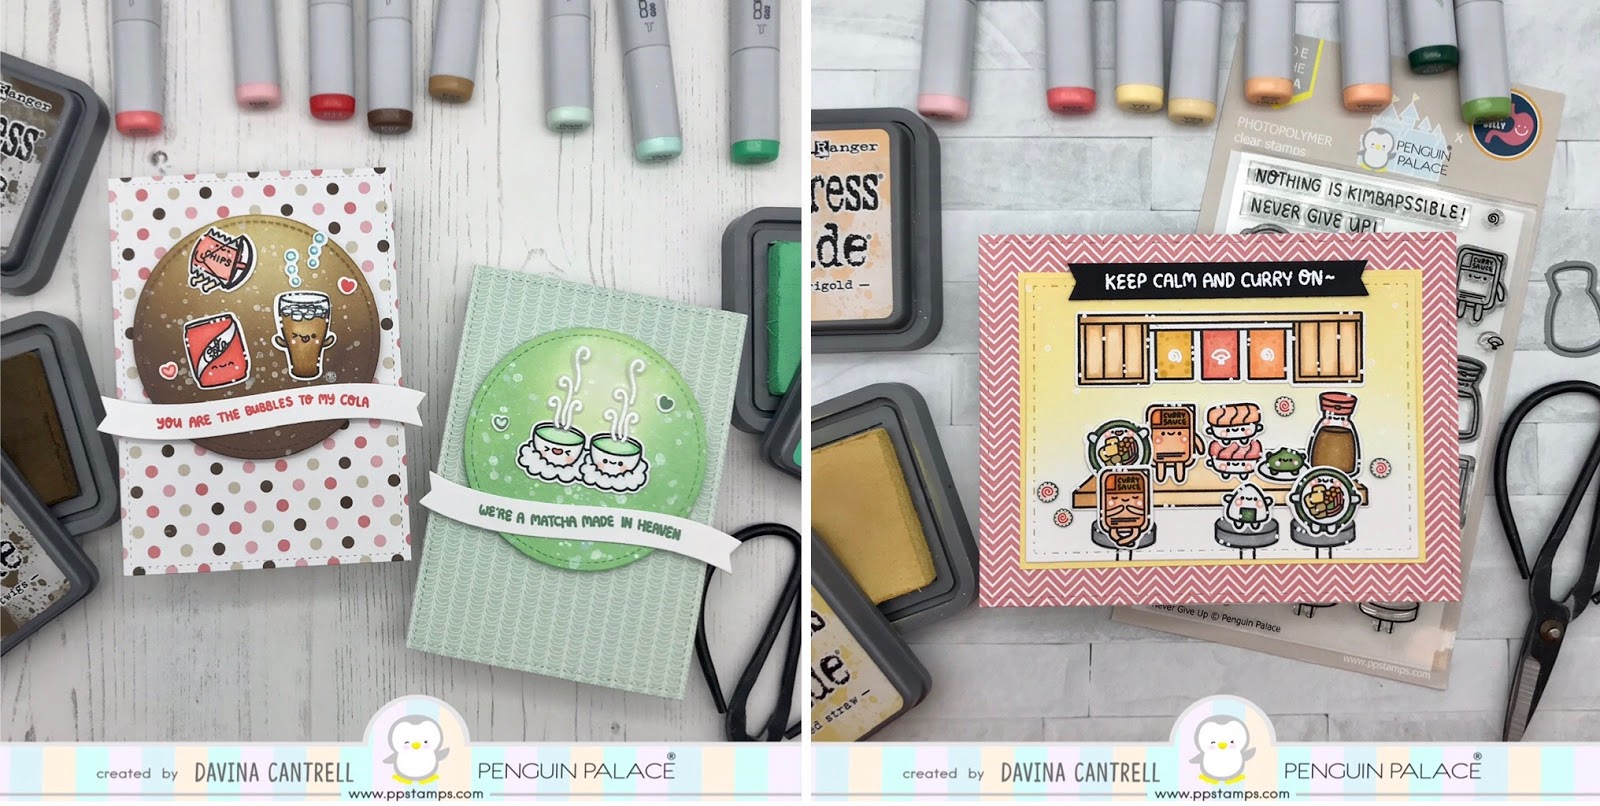
The first is a punny emoji set featuring coffee, teas, and cola called There’s No One Like You. A fun and playful way to let someone know you love them. I created a pair of sweet and simple 4 Bar cards that were a snap to put together, and the smaller size of these, are perfect with the scale of the stamps. I trimmed some patterned paper to 3.5 x 4 7/8, then die cut 2 three inch circles.
Using Distress Oxide inks in matching colors, I inked an ombré background onto each. Next, I splattered with white and Glimmery Perfect Pearls. I stamped and Copic colored my images before cutting out with the coordinating Penguin Perfect Cuts. I brushed some glittery Wink of Stella onto the images and adhered the images onto the circles. I stamped the sentiments using colored ink, and mounted everything onto some foam tape.
For the second card I used the super adorable Sushi Themed set called Never Give Up, and a lot of the same techniques from my previous cards. I love the upper shelf stamp that is included along with the table top. It makes it perfect to recreate a Sushi Bar. I used every single stamp in the set to create this card and love the Keep Calm and Curry On sentiment that goes along with the little curry sauce packets. All of these smiling kawaii style images are so sweet. I added planty of glittery Wink of Stella to the seaweed and sashimi. I love that I thought ahead to make a pink ahi and coral salmon! Did you notice the incredible Dots meet Dash frame dies, those are also some of the new stand alone dies. Such amazing detail! I heat embossed the sentiment onto a black banner and mounted on top to balance everything out.
I hope you enjoy these glittery cards and and thank you for stopping by. Check back tomorrow for another great preview,
Davina
Using Distress Oxide inks in matching colors, I inked an ombré background onto each. Next, I splattered with white and Glimmery Perfect Pearls. I stamped and Copic colored my images before cutting out with the coordinating Penguin Perfect Cuts. I brushed some glittery Wink of Stella onto the images and adhered the images onto the circles. I stamped the sentiments using colored ink, and mounted everything onto some foam tape.
For the second card I used the super adorable Sushi Themed set called Never Give Up, and a lot of the same techniques from my previous cards. I love the upper shelf stamp that is included along with the table top. It makes it perfect to recreate a Sushi Bar. I used every single stamp in the set to create this card and love the Keep Calm and Curry On sentiment that goes along with the little curry sauce packets. All of these smiling kawaii style images are so sweet. I added planty of glittery Wink of Stella to the seaweed and sashimi. I love that I thought ahead to make a pink ahi and coral salmon! Did you notice the incredible Dots meet Dash frame dies, those are also some of the new stand alone dies. Such amazing detail! I heat embossed the sentiment onto a black banner and mounted on top to balance everything out.
I hope you enjoy these glittery cards and and thank you for stopping by. Check back tomorrow for another great preview,
Davina
Monday, March 30, 2020
Penguin Palace Stamps New Release
Hello Crafty Friends! It’s release time over at Penguin Palace Stamps, and I have some fun projects to share with you over the next few days. There are also some giveaways, of all 5 stamp sets and stand alone dies, going on over on the Penguin Palace Blog so make sure you head over and get entered.
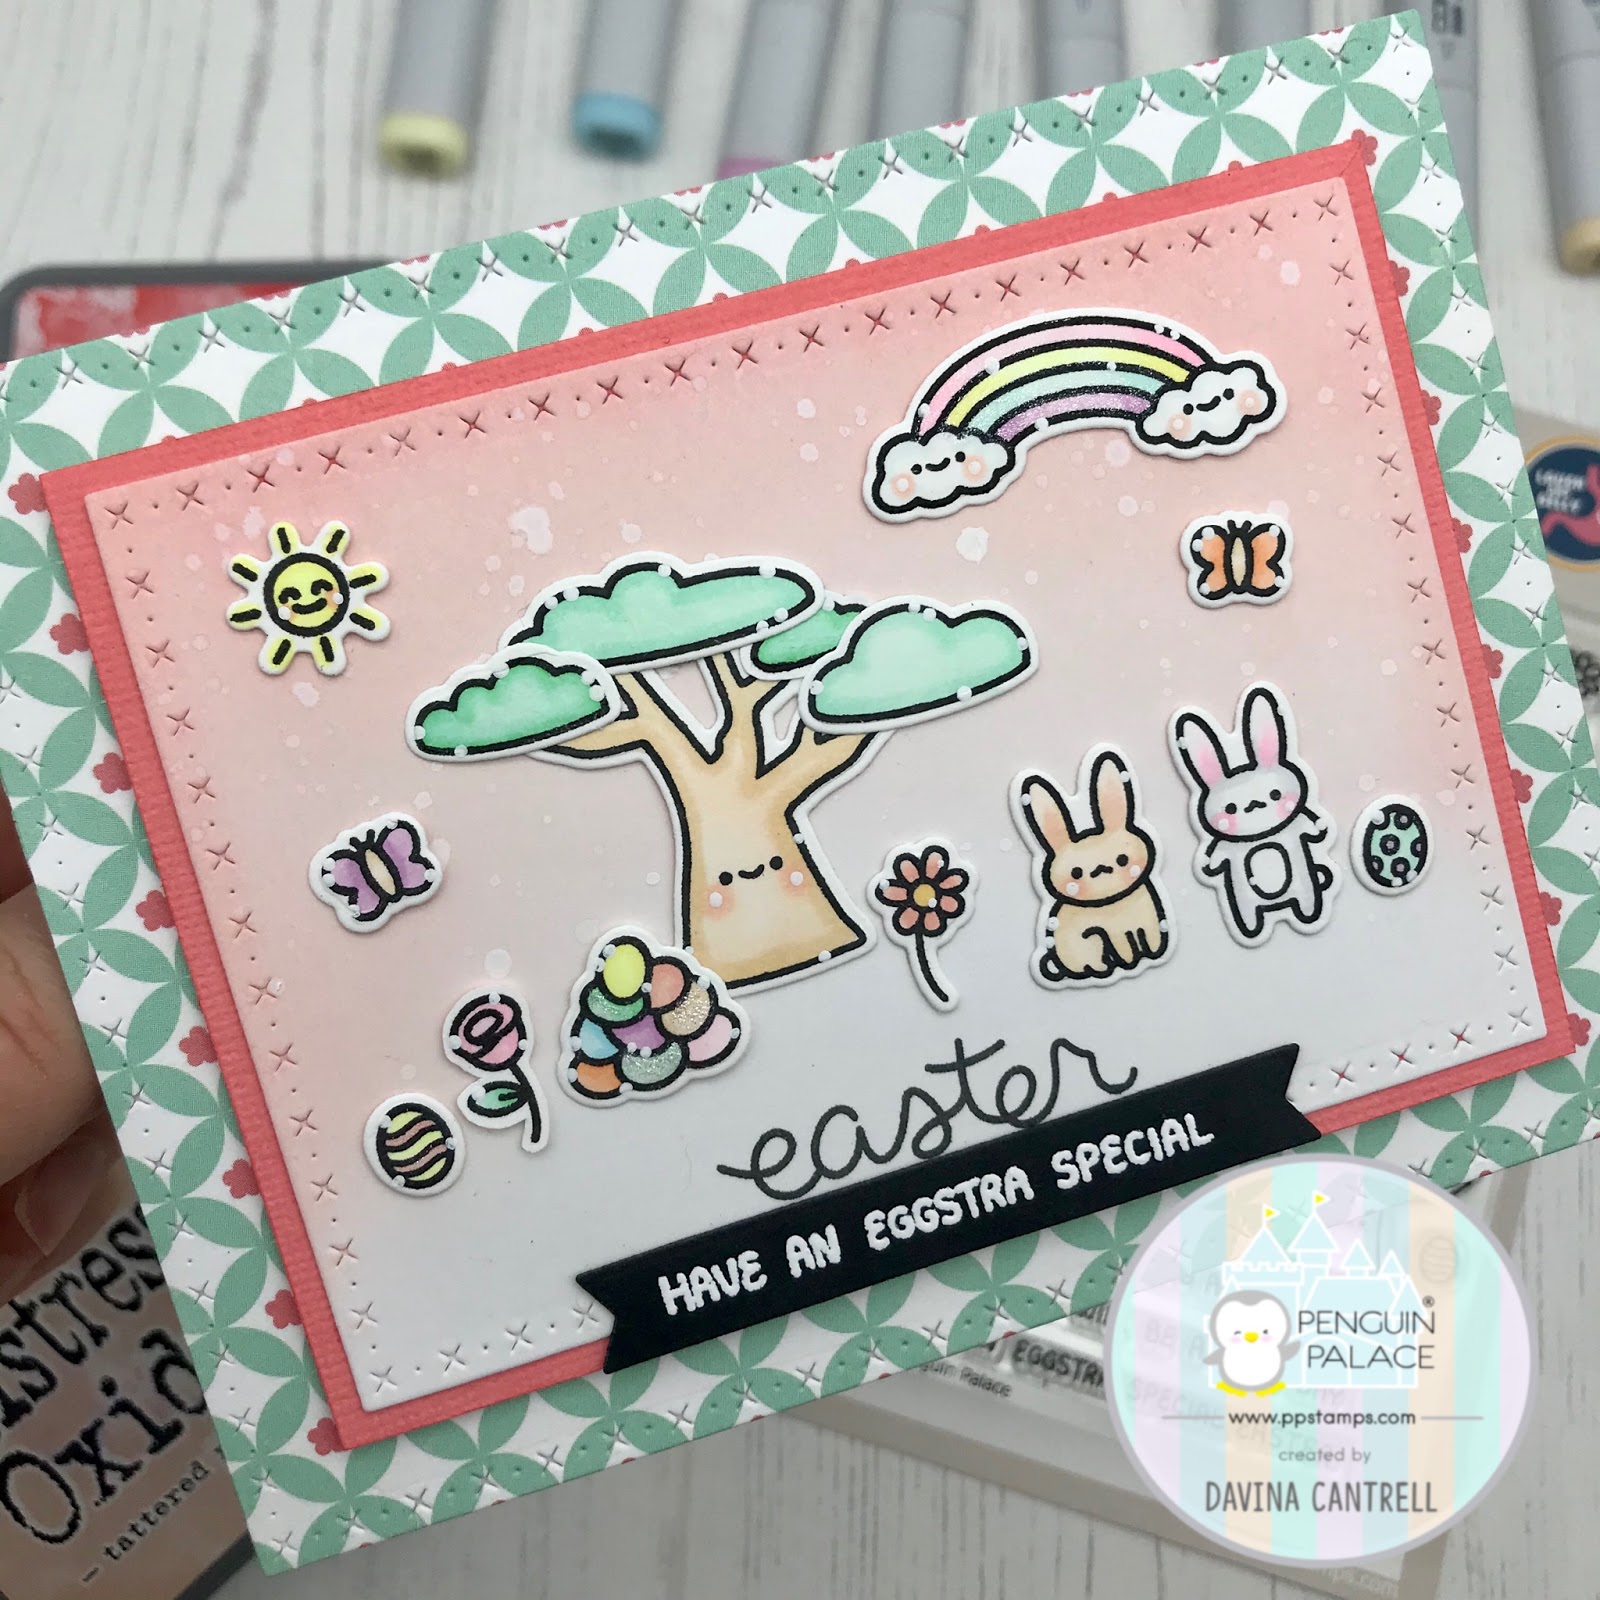
Today I’m featuring a new stamp set called My BFF. It’s full of great springtime images, like little kitties, some Easter images, a buildable tree, and plenty of Punny sentiments.I created some paper layers using the Cross stitched and dots Layer dies, from patterned paper and Bristol smooth cardstock. I also free hand trimmed a textured cardstock layer to place in between the two. I very gently inked some Tattered Rose and Abandoned Coral Distress Oxide Ink onto the Bristol paper and splattered with water and white ink.
I stamped my images onto bright white cardstock, then colored with copic markers. After die cutting with the coordinating Penguin Perfect Cuts, I highlighted my images and adhered them to my panels. Once everything was glued down, I added some glittery sparkle with a Wink of Stella glitter brush pen.
To finish up my card I heat embossed the sentiment onto a black banner strip that I adhered toward the bottom of the scene. I love the details that the stitched dies give my layers, and how the little tree reminds me of a Bonsai tree.
Thank you for dropping by and make sure you head over to the Penguin Palace Blog for details on the giveaway and how you can save 10% during the pre release sale.
Davina
Today I’m featuring a new stamp set called My BFF. It’s full of great springtime images, like little kitties, some Easter images, a buildable tree, and plenty of Punny sentiments.I created some paper layers using the Cross stitched and dots Layer dies, from patterned paper and Bristol smooth cardstock. I also free hand trimmed a textured cardstock layer to place in between the two. I very gently inked some Tattered Rose and Abandoned Coral Distress Oxide Ink onto the Bristol paper and splattered with water and white ink.
I stamped my images onto bright white cardstock, then colored with copic markers. After die cutting with the coordinating Penguin Perfect Cuts, I highlighted my images and adhered them to my panels. Once everything was glued down, I added some glittery sparkle with a Wink of Stella glitter brush pen.
To finish up my card I heat embossed the sentiment onto a black banner strip that I adhered toward the bottom of the scene. I love the details that the stitched dies give my layers, and how the little tree reminds me of a Bonsai tree.
Thank you for dropping by and make sure you head over to the Penguin Palace Blog for details on the giveaway and how you can save 10% during the pre release sale.
Davina
Saturday, March 21, 2020
Party Animal with Reverse Confetti
Hello Crafty friends! I’ve got another Fetti Friend project to share with you, and it’s bright and fun, just what we need in these crazy times. Most people are getting cabin fever with the social distancing and self quarantine, but I, as a card maker and crafty-holic, am living my best life. Creating and cooking all day haha. I might get too comfy and not go back to work when all of this is over.
I made a sweet and simple birthday card to add to my stash using a combination of new and old Reverse Confetti products. Some of the products I used are from the very recent March release like Chalk it up stamps and dies, and the Double Stitched Window cover panel Confetti Cuts. I also used the Party Animals stamps and dies and some star and circle garland dies that are so vintage, they aren’t even on the website any longer. And that birthday typed paper in the background is from before they ever offered patterned paper pads, and sold little packs of Quick Card Panels. It’s crazy what you find when you digging through hoarded bins of crafty treasure!
I used the Quick Card Panel to pull my color choices from, then found some beautiful magenta cardstock to cut with my cover panel. Using white embossing powder, I heat embossed the sentiment towards the bottom of the panel. Then I cut the garlands from some scrap glitter cardstock and vellum, and adhered it in the window using double stick tape on the back. Next, I attached the typed paper behind as well.
I stamped and colored my images using black ink and copic markers, and after die cutting with the coordinating dies, I cut them again from fun foam. I glued the shapes together and held them down under an acrylic block to dry flat. I like to add white dotted highlights after the die cutting process, to prevent any smudges, then adhered my stamped images to the foreground of my card. I love the 3D look the fun foam gives.
I finished it up with a few Matte Gold sequins and some clear glaze on the noses and eyes. Thanks for stopping by and I hope you and your loved ones stay safe and healthy,
Davina
I made a sweet and simple birthday card to add to my stash using a combination of new and old Reverse Confetti products. Some of the products I used are from the very recent March release like Chalk it up stamps and dies, and the Double Stitched Window cover panel Confetti Cuts. I also used the Party Animals stamps and dies and some star and circle garland dies that are so vintage, they aren’t even on the website any longer. And that birthday typed paper in the background is from before they ever offered patterned paper pads, and sold little packs of Quick Card Panels. It’s crazy what you find when you digging through hoarded bins of crafty treasure!
I used the Quick Card Panel to pull my color choices from, then found some beautiful magenta cardstock to cut with my cover panel. Using white embossing powder, I heat embossed the sentiment towards the bottom of the panel. Then I cut the garlands from some scrap glitter cardstock and vellum, and adhered it in the window using double stick tape on the back. Next, I attached the typed paper behind as well.
I stamped and colored my images using black ink and copic markers, and after die cutting with the coordinating dies, I cut them again from fun foam. I glued the shapes together and held them down under an acrylic block to dry flat. I like to add white dotted highlights after the die cutting process, to prevent any smudges, then adhered my stamped images to the foreground of my card. I love the 3D look the fun foam gives.
Davina
Subscribe to:
Posts (Atom)