Tuesday, July 23, 2019

Happy Birthday with Penguin Palace Stamps

Today I’m sharing a bright, citrus rainbow hued birthday card that I made using Penguin Palace stamps and dies. I combined the main images and a sentiment from Birthday Unicorn and the small gift image from An Amazing Friend on this colorful card, and really love how it all came together.

I started this project by inking up some Bristol smooth cardstock with a rainbow of Distress oxide inks. I found a color palette I loved (on Pinterest of course) and selected some inks that I felt matched. Before I applied any color I used my white liquid distress ink refill (picket fence) to create a base coat and make blending easier, by applying  a few drops onto my card panel and blended it evenly over the entire 5.5 x 4.25 inch piece. Then I started laying down color, and began blending them into each other trying to achieve a uniform layered look. For once, I didn’t use any distress techniques since I planned on die-cutting the paper panel.

While I allowed that to completely dry, I stamped my images onto bright white cardstock. I selected my Copic markers in coordinating matching pairs, for easy coloring, and got to work coloring my little characters. I left the unicorns bright white so they would match the clouds I planned on using,  but I used my lightest cool grey C0 to gently outline the unicorns, and C1 for a little detail dotting. I gave them each a different color hairdo, and colored the little accessories all in the same colors as the rainbow background.

I used the Let’s Celebrate stand alone die plate to cut the confetti from the inkblended panel and layered it over bright white cardstock. Then I used some cloud dies from my stash to cut the different sized clouds and bottom stitched border. I carefully stamped my sentiment onto the bottom cloud panel using my stamp platform. Then I started attaching my images using a variety of adhesives. I glued down the floating balloon unicorn and planted the cake into the small puffy clouds to create the idea that he floated up there to snatch the cake.

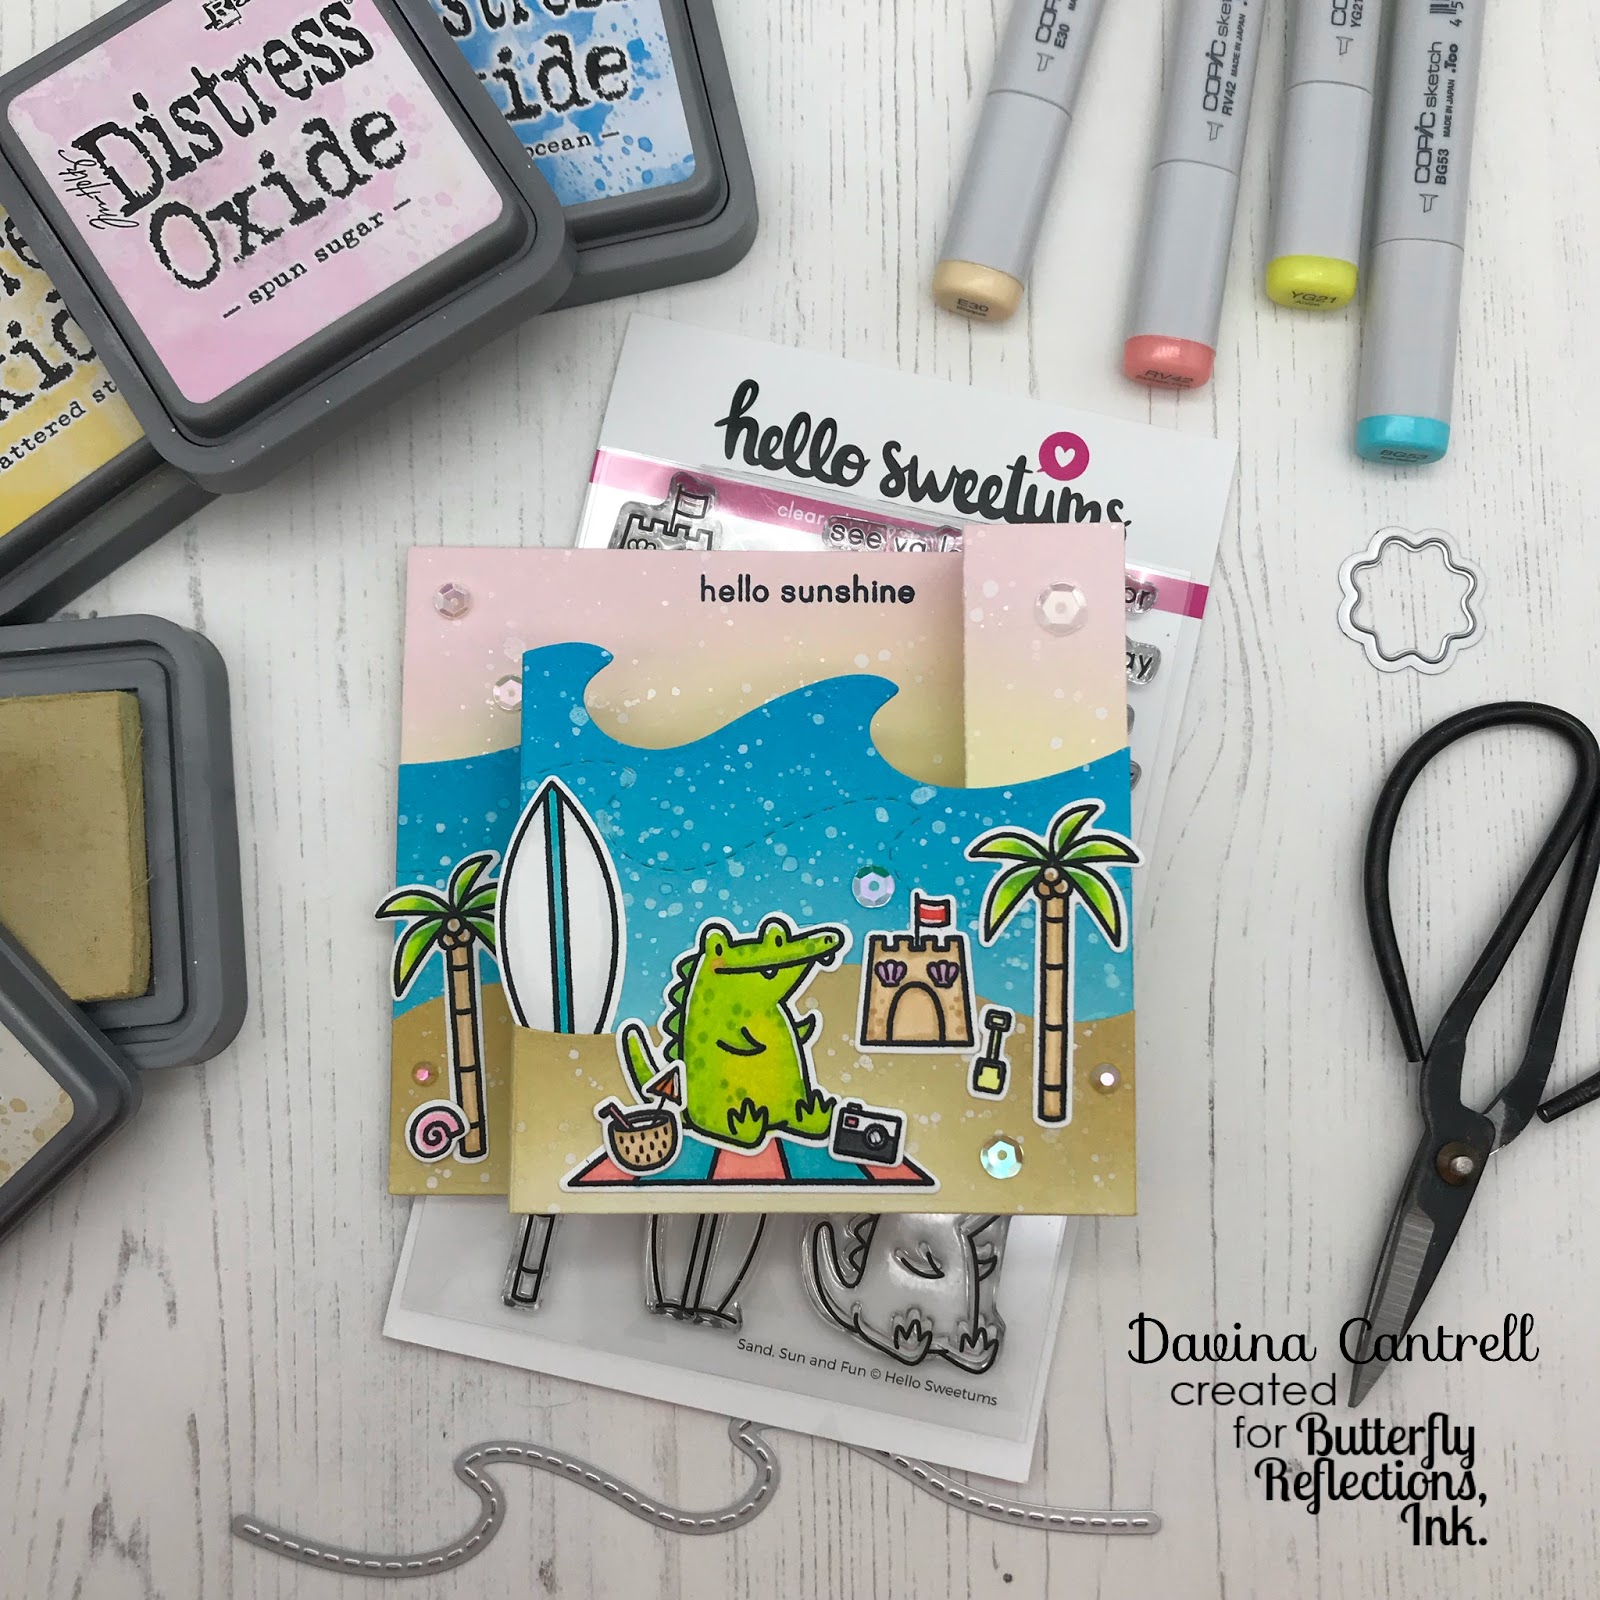
I finished it all up by sprinkling some new, no hole, iridescent sequins that I ordered from Lucy Abrams. They were the perfect accessory and provided just enough bling and interest. I really love this little cake filled party and hope that you do too. Thank you so much for dropping in and hopefully you’ll be back soon to see my next creation.

Thank you,
Davina

Tuesday, July 16, 2019

Awesome using Penguin Palace Stamps

I have another project to share with you this morning using the very adorable Penguin Agenda stamps set from Penguin Palace Stamps. I combined these polar images with the smaller detail stamps from Summer Sunshine and Let’s Catch Up, to create this long Slimline scene.

I cut my main image panel from Bristol smooth cardstock, the size is 8 x 3.25. Then using my new blender brushes from Taylored Expressions, I inkblended the panel using tumbled glass, salty ocean, and faded jeans. I splattered with clean water, white opaque ink and a blue metallic ink that has some shimmer to it.

While that dried completely, I stamped and colored my images using my Tonic Stamp Platform to achive crisp dark lines, and Copic markers. I highlighted my images with a white gel pen then cut them out with the coordinating dies. I didn’t have the dies to Let’s Catch Up but as I was fussy cutting I went online and ordered them. I always love to have the matching dies to my sets and I find that I use the sets a lot more than I do stamps that I don’t have the dies for.

Once everything was ready to assemble I played with placement and glued down some of the smaller accessories over some existing images (like the phone and starfish). I also used an X-acto knife to cut around the hands of the far left penguin, and placed a shell on top of the scissors and paper he originally held. I used a variety of adhesives to glue everything down. I heat embossed my sentiment across the top before mounting two layers of patterned paper under my panel. Then I used Scor Tape to mount it to my card base. The final dimensions of the card are 8.5 x 3.5

Thank you so much for stopping by and I hope you visit again.
Davina

Big Bug Hugs with Heffy Doodle

Hey there crafty friends, Davina here with the Butterfly Reflections Ink blog today, sharing some summer colored hugs. Did you see the beautiful Mood/Color board last week that was posted on the blog?! It was gorgeous and I will have to make a million projects with these colors.

So today I am sharing a slimline card that is inspired by the July mood board, and using my first purchase of Heffy Doodle Stamps. I’ve been trying very hard to limit my purchasing to certain brands. But I am not being held accountable to anyone but myself, so my plans got off track. And I’m not sorry.
I used an adorable set called Big Bug Hugs and their matching dies, and the large mushroom stamp and die from Gnome Matter What, to create this card. Both sets are currently available in the BRI online store so if you like it please go check it out, I created links for you.
I cut two panels of Bristol smooth cardstock down to 3x6 inches. I used a grassy hill die to cut one almost in half (just a little less than half so that the tallest part of the hill would be in the center.) I then used scattered straw and cracked pistachio Distress Oxide inks to inkblend both pieces making sure that the green on the back panel would blend up over the grassy hill. I splattered with clean water, white opaque ink, and a shimmery metallic coral ink.
While these pieces dried completely I got to work stamping and coloring. I stamped all of the images from the Big Bug Hug set and the large mushroom for Gnome Matter What onto my bright white cardstock using my stamp platform. I use it for every single thing I stamp. I don’t know how I lived and crafted before it was a “thing”  my lines are always dark and crisp and my images always look great. I used my Copic markers that matched the color theme, and a white gel pen for highlights.
I decided to pop up my two flying characters on Fun foam by using the matching dies to cut them out of white foam sheets and placing them under and acrylic block to dry, knowing that my grassy layer would be mounted on foam tape and that the lower images would be the same height off of the card. I  stamped the greeting onto the grass layer before attaching with foam tape, then tucked the background images behind the grass, and adhered with liquid glue. I applied  all the little critters to the grass area, then the stickers I created with the stamped images on Fun foam. There was barely enough room for everyone to fit on there.

I attached a piece of coral texture cardstock from my stash, then mounted it all onto a card base with Scor Tape. I have acquired a ton of round iridescent no hole confetti sequins in many colors and have using them on all of my projects lately, I love the glimmer and glitter, and the fact the they look like different colors from different angles.

I hope you like this little card and that you use this beautiful color board to create something soon. If you do please make sure to use the hashtag #brimoodboard so we can see your take on the theme.
Xoxo, Davina


Tuesday, July 9, 2019

Seas The Day with Penguin Palace

I have a fun in the sun, kind of card to share with you today using Penguin Palace stamps and dies. I used an absolutely adorable set called Summer Sunshine and combined it with the cute cafe from Rabbit Cafe to create a beach side ice cream stand.

I started with a unique sized card that I enjoy making. The card base measures 6.25 x 3.5 and fits in a standard little mailing envelope. The panel that I work on is 6 x 3.25 and it leaves barely enough space to mount on some coordinating colored paper. I cut two panels from Bristol smooth paper and used one for the main base, and from the second I cut my stitched hill for the sand and my stitched waves. I used my brand new Blending Brushes from Taylored Expressions to lightly inkblend my layers. I normally use deep saturated colors but I wanted a light fun vibe for this card. I lightly splattered with clean water, white opaque ink, then darker watered down matching inks. I put those aside to dry while I worked on my images.

Using my stamp platform I stamped the images from Summer Sunshine and colored with my Copic markers, then highlighted with a white gel pen. I colored my cafe to resemble those bright Caribbean beach huts and my little cuties are nice  and eager to play in the water. After playing with the arrangement, I used a variety of adhesives to attach my images. Then added a few round sequins to bling it out. I forgot to stamp my sentiment to the waves before attaching and I very carefully used my platform to stamp on top of the completed card. It was terrifying.

I really love the font that is included in the sets and after asking about it found out that it was the illustrators own handwriting . I hope they continue to use it because it stamps so well and looks so fun a playful. I will continue to pray that they make an alphabet set using this cute handwriting!

I mounted my panel on bright textured pink Bazzil cardstock before using Scor Tape to attach to the cardbase. I’m  really happy with the final result and can’t wait to make something new! Thank you for stopping in,
Davina


Tuesday, July 2, 2019

Fun Adventure with Penguin Palace

It’s Tuesday so that means I have a Penguin Palace project to share with you, and today I’m featuring Fun Adventure. I really do adore this set and am using different images than I have before. This is a very versatile stamp set that stamps well and the dies cut beautifully. Everything is back in stock on the website too!

I love to pull my color choices from paper pads and/or color mood boards before I start my projects, and today was no exception. I have a very “grown up”paper pad in my stash from My Minds Eye that I haven’t used before called Market Street. It is full of very rich colors like teal, chartreuse, cranberry and blush. Along with brassy gold and a dark, almost black, charcoal. I decided on one of the lighter sheets of paper for my base layer, that had a playful arrow pattern in many colors. When I trimmed it down I noticed that I loved the strip of brass colored stripes on the back and decided to save it to add back in.

I cut a second smaller layer from Neenah Solar Bright White cardstock and ink blended on the right half with tumbled glass and peacock feathers distress oxide ink. I made a stencil by diecutting the individual cloud dies from other PP sets, Summer Sunshine and Rabbit Cafe. After cutting them out randomly and several times from a piece of shiny cardboard, I inked the clouds onto my blue sky.

While that dried, I stamped my images and colored using very muted tones of warm grays and blush. I highlighted with a white gel pen added a touch of shimmer to the camera lens. I used my stamp platform for careful placement and stamped, then heat embossed, my sentiment using Wow embossing powders for the word Adventure. I cut my gold striped paper into a banner ribbon and used my finger to rub some gold acrylic paint along the edges for a little added depth. I used a variety of adhesives to. Punt my images and surrounded them with a sprinkling of muted brassy gold sequins that I love and don’t use often enough. Finally, I mounted my layers using Scor Tape.

Thank you for dropping in, Davina

Monday, July 1, 2019

Sand Sun and Fun with Hello Sweetums

Hey there Crafty friends! Davina here with Butterfly Reflections Ink and I have a fun filled wiper surprise card today that I made using Hello Sweetums newest release Sand Sun and Fun stamps set with matching dies. I also used the the Mama Elephants Wiper Surprise Die for my card base.

I was so excited to receive my new haul of Hello Sweetums and I was not disappointed. The stamp quality is fantastic and I love that the dies come pre trimmed and ready to use. I’m so happy Vanessa started carrying them in the Butterfly Reflections Ink shop.

This was my first time making a wiper card and I am so happy with how easy it was to build. I also found a  picture tutorial online to show the placement of the images for each little arm so I could reference it when making decisions. I’m going to print it up and store it with the dies.

I started by cutting 3 panels of Bristol Smooth Cardstock with the wiper card base. I trimmed one down with large Water Wave die then added some stitched details with the coordinating stitch wave die. Then I cut the second down with the smoother wave die for my beach layer. I left the 3rd whole for the card base. I then went ahead with my Distress Oxide Inks and blended my layers. I always use at least 2 colors when inking my panels. First a lighter color, then a darker one on the edges for details. I splattered with clean water, then white opaque ink, followed up up by a shimmery pearl ink.

I stamped my images using black Momento Ink and my stamp Platform. I use a Ranger stamp platform but both sized Misty Platforms are available in the shop for a great price and super fast shipping. If you aren’t using one, you need to. It really improved your stamping by huge amounts and let’s you carefully arrange everything. After stamping and coloring with my Copic markers, I highlighted my images with a white gel pen.

I assembled my card base by scoring the folds of all of my panels, and used a liquid glue to attach my sand to the water layer. Then I used a very strong double sided tape (Tombow Extreme Adhesive) to attach the right portion of the wave panel to my base.  I played with the image placement before adhering my images using a variety of glues.  I glued down all of my colored pieces and found the perfect placement for my sun. I cut the wiper arm out of clear acetate so it wouldn’t be visible and attached that with the same extreme adhesive before attaching the left side of the panel. Once I had everything all together I put a little bling down, using a few sequins and glittering iridescent jewels, being careful not to put any where the fold would be laying flat.

I am so happy with how this turned out and hope that you make something beautiful today! Thank you for dropping in,
Davina