
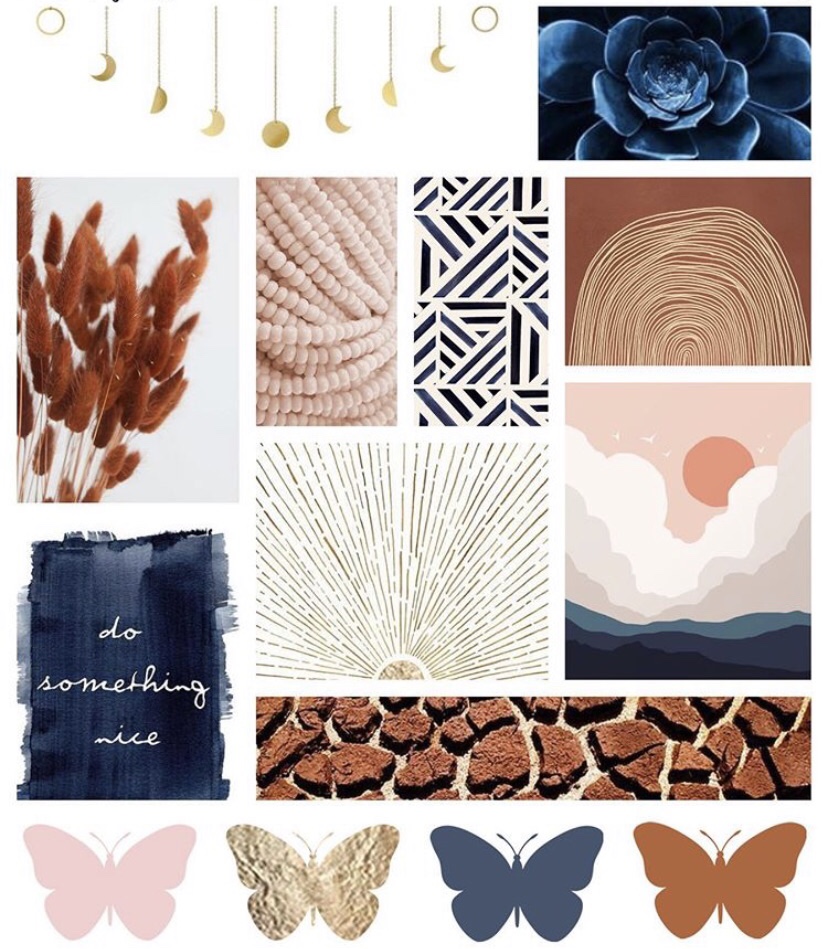
Hello Inky friends. I hope you are doing well. I’m using the beautiful Sept Moodboard today. This blush, terra cotta, navy, and gold color board is so incredible and versatile. The colors are so trendy currently, and I truly believe that any stamp set will look wonderful with them.
This large, 5x7 interactive card, uses mostly Avery Elle stamps, along with a Lawn Fawn Scripty die. I have recently hoarded most of the Peek-a-boo Pals stamp sets from Avery Elle, but haven’t used them yet, so I decided to get busy. After deliberating between a Bumper car slider slimline, rollercoaster, or Ferris wheel I decided on the Ferris wheel. But I wanted a fully rotating one. I’m so happy with the results, but it took a lot of trial and error.

Let’s get started. First, because the Ferris wheel from Peek a Boo Fair is only a partial image, I had to hand draw the wheel on my card. I stamped the Ferris wheel onto some copy paper, rotated the image and stamped it again. Then, I used those stamped images as a guide to draw the inner portion, with a metal ruler and multi liner. I cut the drawn image out with a nested circle die, and inked it with the blush hues Tattered Rose Distress Oxide Ink. I painted the outer rim with gold acrylic paint.
Next, I stamped the image again, onto bright solar white Neenah Cardstock for my ride compartments (baskets). I used additional images/characters from Peek a Boo Coaster for my other cuties. I also stamped a word bubble from the Speech Bubbles set and heat embossed Woo Hoo! onto it. I used copic markers to color everything before using the coordinating dies to cut everything out.

I assembled each basket with a character, and reinforced the bottom basket from behind with a second piece of die cut paper. No need to stamp, just the added reinforcement. After highlighting with small white dots, it was time to create my individual swinging elements. If you just glue them down, they would remain in place (and upside down) when rotating the wheel.
1. I punched 3 office sized holes into the edge of the wheel.
2. I glued down a small metal washer, to the center and bottom of each basket, to add a little extra weight so they would remain upright without my help.
3. I attached a small plastic sliding disc (MFT Spin & Slide) to the back of each image. Centered in the neck area.
4. Put the disc through the punched hole, and cap off with a small piece of circle punched cardstock
(Larger than hole punch) to hold in place.
5. Check to make sure everything wiggles properly before moving on.
Next, I created the same type of inner mechanism as the Lawn Lawn reveal wheel.
6. I die cut a 2 1/2 inch circle, and poked a tiny hole into the center.
7. I poked a tiny hole into the center of the Ferris wheel.
8. I used a brad, with the finished side facing forward, to connect both pieces. I did not open it completely flat against the paper because I wanted it to spin freely. I put the edge of my metal ruler under the brad fasteners to give it plenty of space.
9. Apply multiple foam squares to the backside of that smaller circle. That is how the entire thing will adhere to the card front.
Even at this point, it was so fun to spin and play with. There is no imagination needed to see how it would work on a card. It turned out perfectly.

I created some layers of gold, blush pink, and Bristol smooth cardstock to fit onto my Kraft cardbase. I used the old ink smooshing technique and the Tattered Rose Distress Ink (not oxide ink) to color the Bristol cardstock. Then, I splattered with white and gold ink. I die cut the word Smile, using Lawn Fawns Scripty Smile word die, and inked it with Chipped Sapphire Distress Oxide Ink to match the coloring.
Finally, I adhered my wheel to card base and surrounded it with die cut stars and the speech bubble. I adore how this looks on the Kraft cardbase and cannot stop playing with it. I even made a stop motion clip and I’m so proud. I hope you love this and try to make one for yourself .
Don’t forget to play along with us using the #brimoodboard and to use this InLinkz button to link your project to the blog post for your chance to win $20 to theButterfly Reflections Ink shop!
Thank you for dropping by,
Davina
I love this fun card. Thanks for sharing the step by step, Davina. I’m going to give it a try.
ReplyDelete