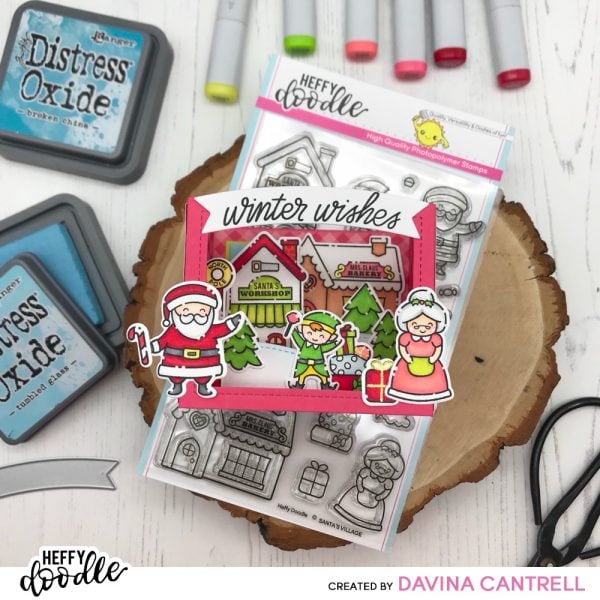
 Hello Crafty Friends, Davina here to share another Interactive card with you using adorable Heffy Doodle stamps! Today I’m sharing a small shadow box filled with everybody’s favorite North Pole inhabitants. I’ve used the super cute images from Santa’s Village like Santa and Mrs. Claus, a little elf, and the workshop.
 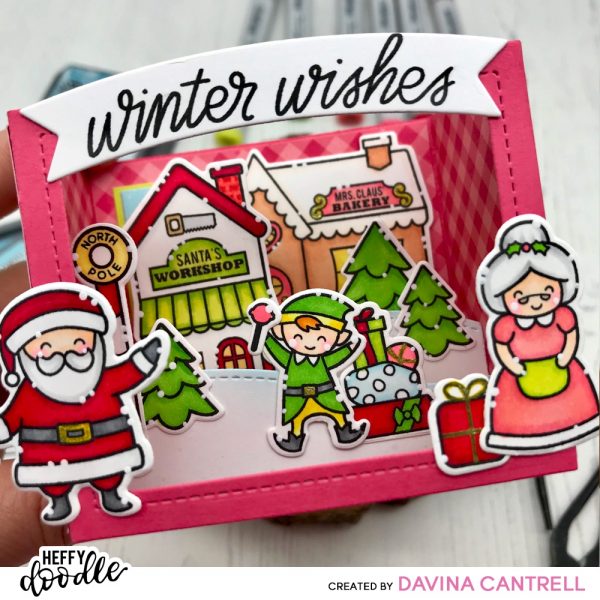 I love making little shadow boxes like this that I can fill to the brim with lots of images and patterned paper. And I love that they fit into regular mailing envelopes and don’t require extra postage. For this little cutie I used a die set from Lawn Fawn to cut the paper panels to build the card, but often I make my own larger, custom sized shadow box that I will share with you at a later date.
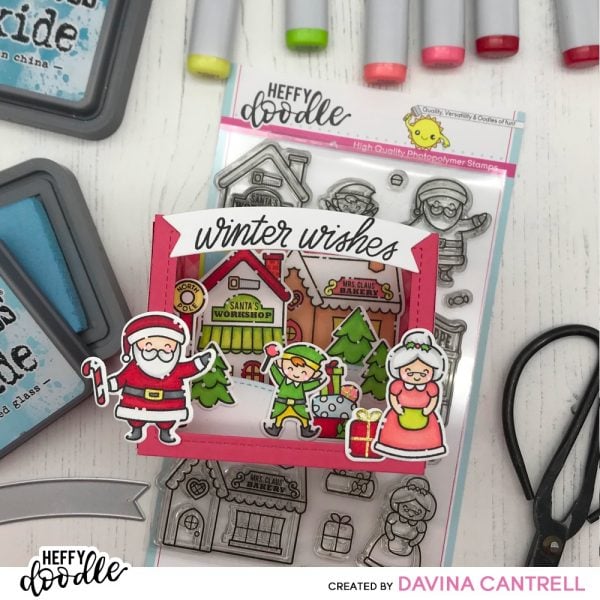
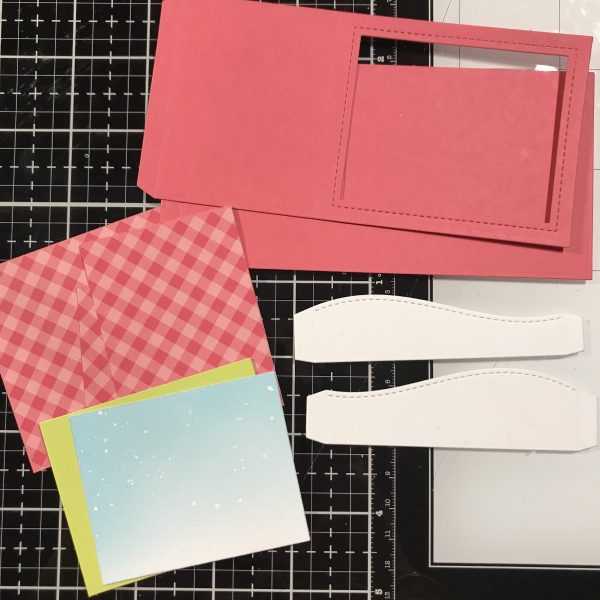
I cut two panels from a watermelon pink/red cardstock that I have in my stash for the base of the shadow box. Then I trimmed some patterned paper that I had, that was almost the same color, to fit just inside each panel. I loved the tone on tone gingham print that doesn't distract from my images. I inked a small panel with tumbled glass Distress Oxide Inks and splattered it with shimmery perfect petals and white ink to give a wintery snowy sky, and also splattered some snowy slopes that I also cut from white paper.
I stamped out my images using black ink and my stamp platform, making sure to get the best impression possible. Then I chose a bright color palette and colored with Copic markers. Next I cut out my images using the coordinating Santa’s Village Dies. Once my images were all cut out I used a dotting tool and thinned white acrylic paint to add the little dotted details around my images (I’m currently on strike from my white gel pen). I then played around with placement before adhereing any images.
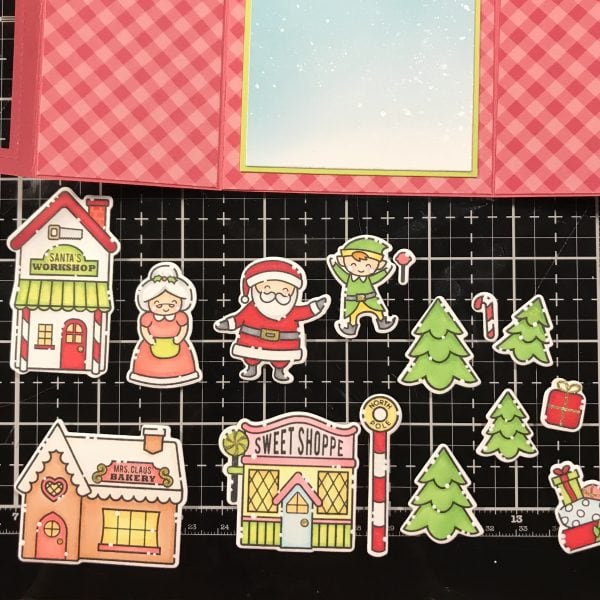
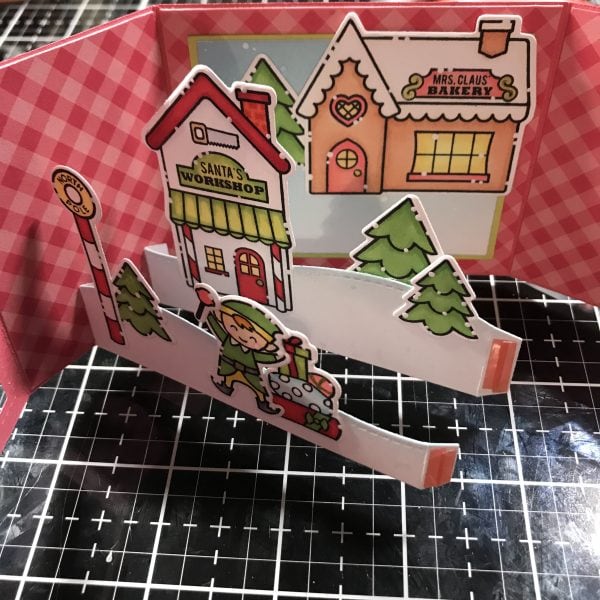
I started by attaching my two panels with double sided sticky tape. I was frustrated to find out that I was out of the 1/4 inch size, and had to use two layers of 1/8 inch... but at least I had that on hand. Then I used liquid glue to add the gingham paper to each interior side. I mounted my inked piece of sky onto a lime green piece of cardstock before glueing it onto the back. Next, I glued down a large pine tree and Mrs. Clauses bakery on the back sky layer close to the top. On my larger snow slope I attached Santa’s workshop, and a pair of trees, making sure to add one tree from behind for visual interest. Finally on my shorter slop I layered in my elf and a pile of gifts and the North Pole making sure they were arranged nicely when layered over the other panels. After scoring the tabs and applying double sided tape to each side, I attached the left sides of the snow slopes, about 3/4 of an inch from each other, on the left side of the box. Next I opened the box and laid the slopes down, making sure they were straight along the bottom, before removing the plastic liner and folding the right side down for a perfect fit. Once both sides were attached, I folded the box to each side and rubbed carefully to make sure the glue was nice and secure.
To complete the box, I secured the front panel to the final tab with double sided sticky tape and rubbed it well to secure it. I added Mr. & Mrs. Claus to the very front towards the bottom, and created a banner, cut from the die set Tag Along Dies and some scripty words from Wanna Build a Snowman. They fit perfectly on top of my shadow box and really bring it all together. To finish it all up I glued the patterned paper all around the outside of the box too, but I used the reversed side which is very subtle and I made a white panel on the back to sign when I gift this to someone. I hope you enjoy this little box of fun and appreciate you stopping by,
Davina @popsiclesticks please visit my instagram for more fun inspiration
No comments:
Post a Comment