Hey there crafty friends! Davina here and I’m very excited to be guest posting for the incredible
Hello Sweetums team. I felt so honored to be asked, that I knew I’d have to come up with something special. After sitting at my desk all morning experimenting with funny scraps of paper, I can say that I have earned my self-proclaimed degree in cardmaking engineering.
Using the squeaking cute stamp se

t
Squeak Cheeks I created a double action slider card. I’m so pleased with how this turned out and although I don’t have exact directions or measurements, I will give you a little peak into the crazy mechanics of this. Last week I made a homemade “teeter totter” action card that allowed two figures to jump up and down opposite of each other. I wanted to alter that design to allow side to side sliding , and up and down motions at the same time. After much experimentation, I achieved my desired results.
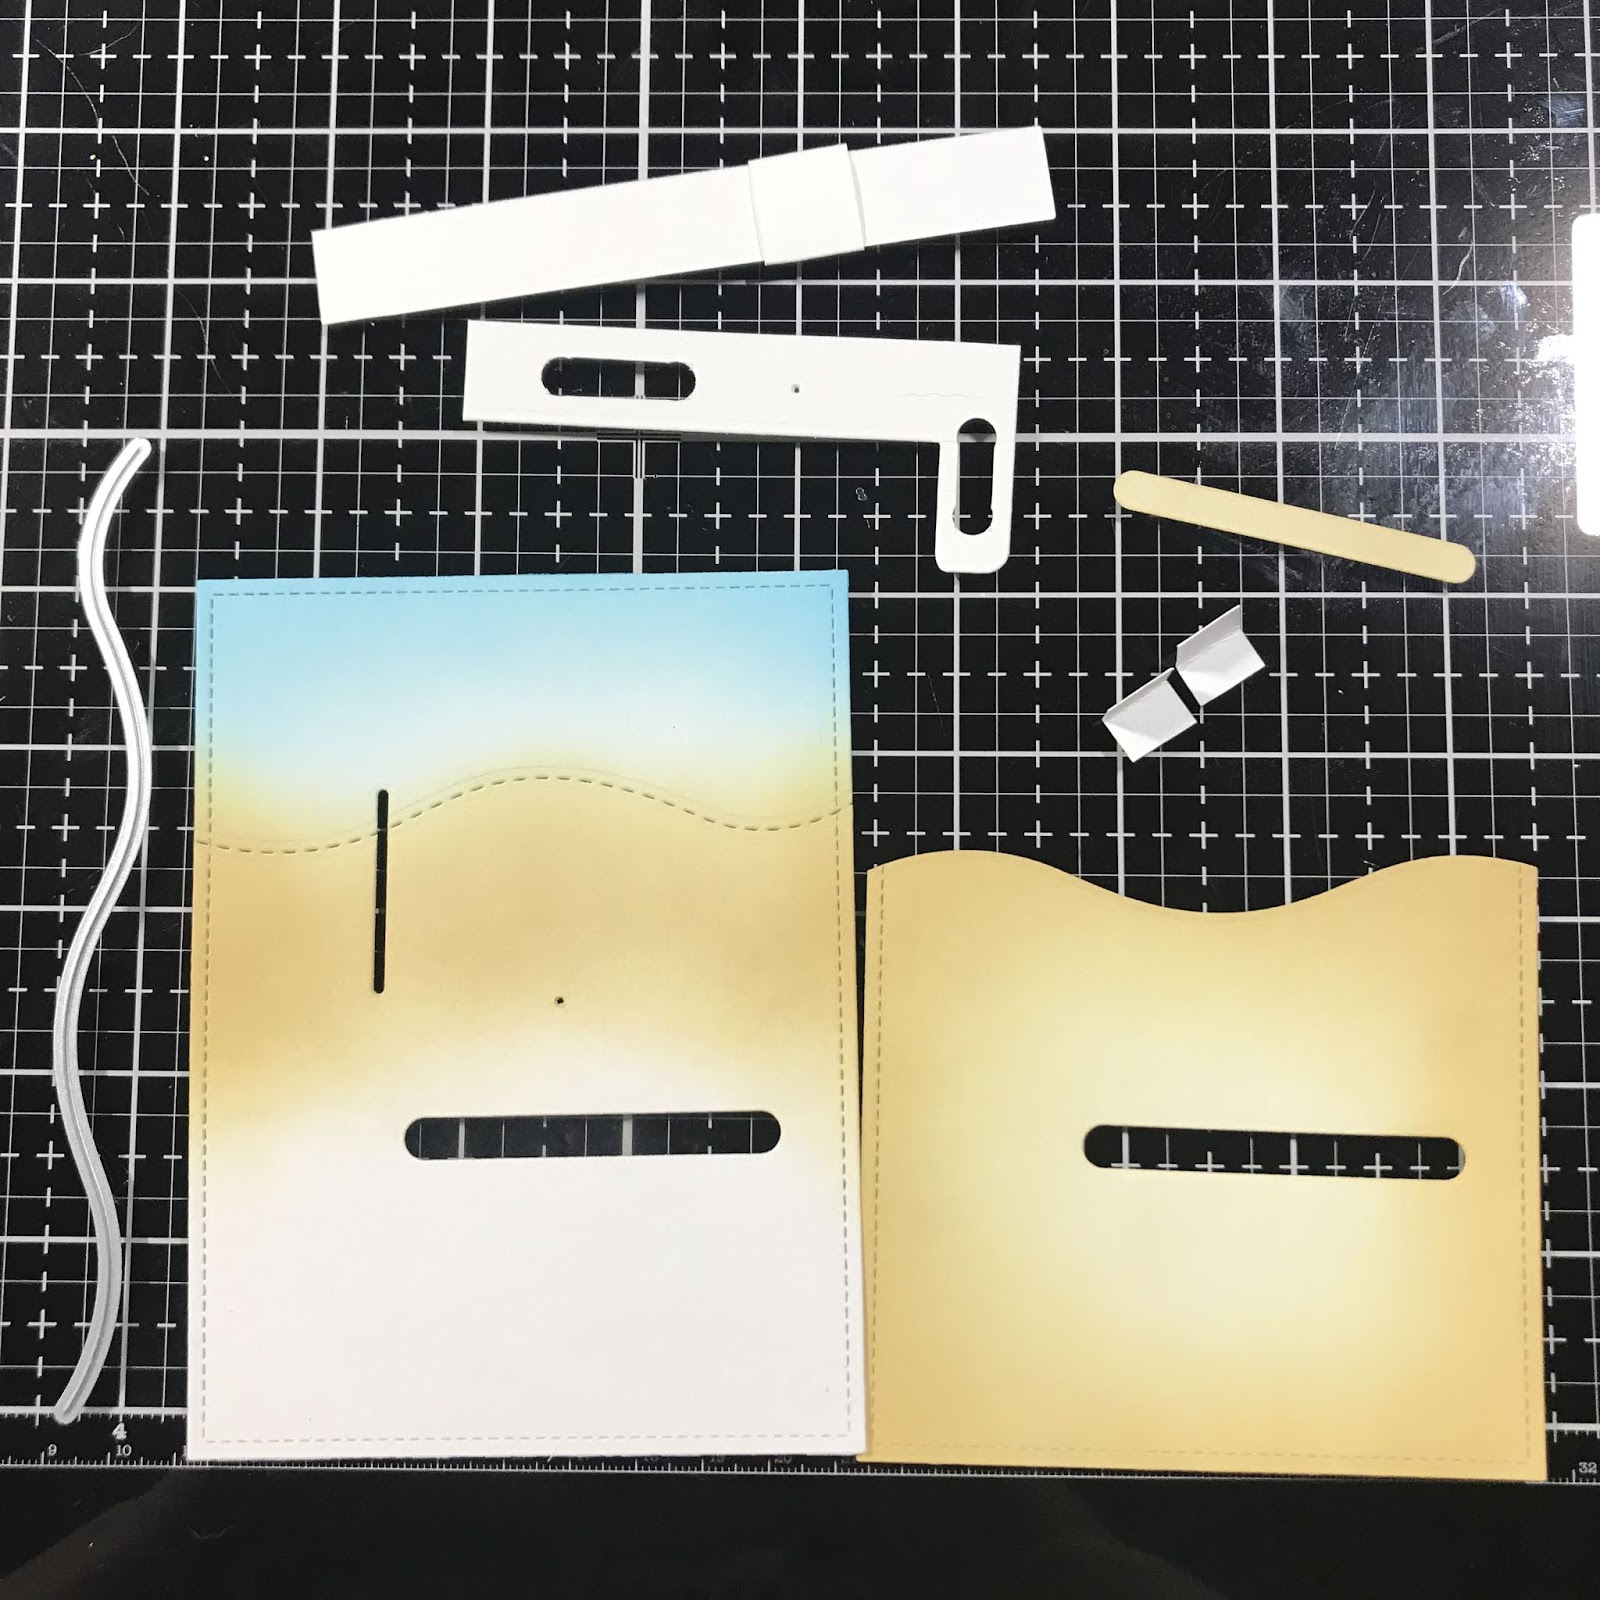
First I die cut two stitched panels from Bristol Smooth cardstock, then I used some Dies from my craft stash to cut out the two sliding channels. Next I used a pair of Hello Sweetums
Water Waves dies to add a stitched wave to one panel, and to cut a wave from my second panel about 1/3 of the way from the top. I then used my blending brushes to inkblend my panels with Distress Oxide Inks. For the top portion I blended Tumbled Glass into white, then used Broken Chin very sparingly around the edges. For the main body portion that is representing my “straw”, I blended Scattered Staw (always heavier around the edges) and then just around the border Brushed Corduroy. I inked up my second shorter panel with the same color combo. I gently splattered with clean water followed by white opaque ink and put aside to dry.
I used my Stamp Platform to stamp the adorable images onto Neenah Solar Bright White Cardstock. I colored my images using Copic markers before cutting out with the coordinating
Die set, followed up by white gel pen highlights. I stamped my sentiment across the bottom of the shorter panel then assembled my swinging arm slider. There was a lot of trial and error, and honestly, the most difficult part was finding the best location for the small mini brad that makes the swinging motion possible. Don’t tell anyone but there are a few extra holes in there behind the front panel. Once I was satisfied with the motion I layered my shorter panel over the top with foam tape (allowing enough room for my critter to pop up) then securing the sliding disc with glue and a circle of paper.

I adhered all of my images onto the scene, covering my disc with the hamster ball, and loved how well they all fit onto my card. I went back in with the brushed corduroy ink and the looped swirl stamp to put some motion behind the rolling ball, and really loved the results. To finish it up I needed to double up my foam tape all around the edges of the back of my card, making sure to leave open the areas that my motion arm would need to move freely. There were a few corners of the mechanism that I snipped away at to reduce the amount of space needed. Then I mounted in all onto some striped patterned paper, then onto my cardbase with Scor Tape.
I’m so happy with the results and hope that you enjoy seeing this guy in action. Please head over to my instagram
@popsiclesticks to see a quick video of the motion.
Thank you so much for dropping by,
Davina


No comments:
Post a Comment